Whether you're building a personal project to show off your skills to recruiters or building the next big thing, you will need to get your application deployed to the internet for the world to experience its beauty. However, with the countless deployment options out there, depending on the platform you choose, deploying your application to the internet can either be one of two experiences: frustrating or exciting.
Hence, an easy-to-use deployment process is crucial to ensuring you don't get stuck in your deployment phase, which is precisely what Netlify offers! Netlify is a cloud development platform that offers developers of all levels an easy and simplified way to deploy their applications to the cloud in record time. Its offerings include serverless and backend services that enable developers to quickly build, test, and deploy static and dynamic web applications to the internet.
Netlify provides you with three deployment options designed to maximize productivity, each tailored to meet the needs of specific users or use cases. The options include a drag-and-drop UI, importing projects using GitHub (or your favorite source control client), and a CLI (command-line interface). Using the aforementioned deployment methods, we will explore how we can deploy a React application to Netlify in this post.
Prerequisites
To be able to follow along this guide, you should be familiar with and have these technologies installed on your local machine:
- Basic knowledge of React.
- Have Node.js 16+ installed.
Scaffolding a Demo React Application for Deployment
To get started, we’ll quickly create a demo React application that will eventually get deployed to Netlify. We’ll be using create-vite to scaffold the React app, a faster alternative to the official create-react app for bootstrapping a React application development environment with no configuration required.
So let’s fire up our terminal and run the command to create a “netlify-demo” project below.
npm create vite@latest netlify-demo --template react
cd netlify-demo
npm install
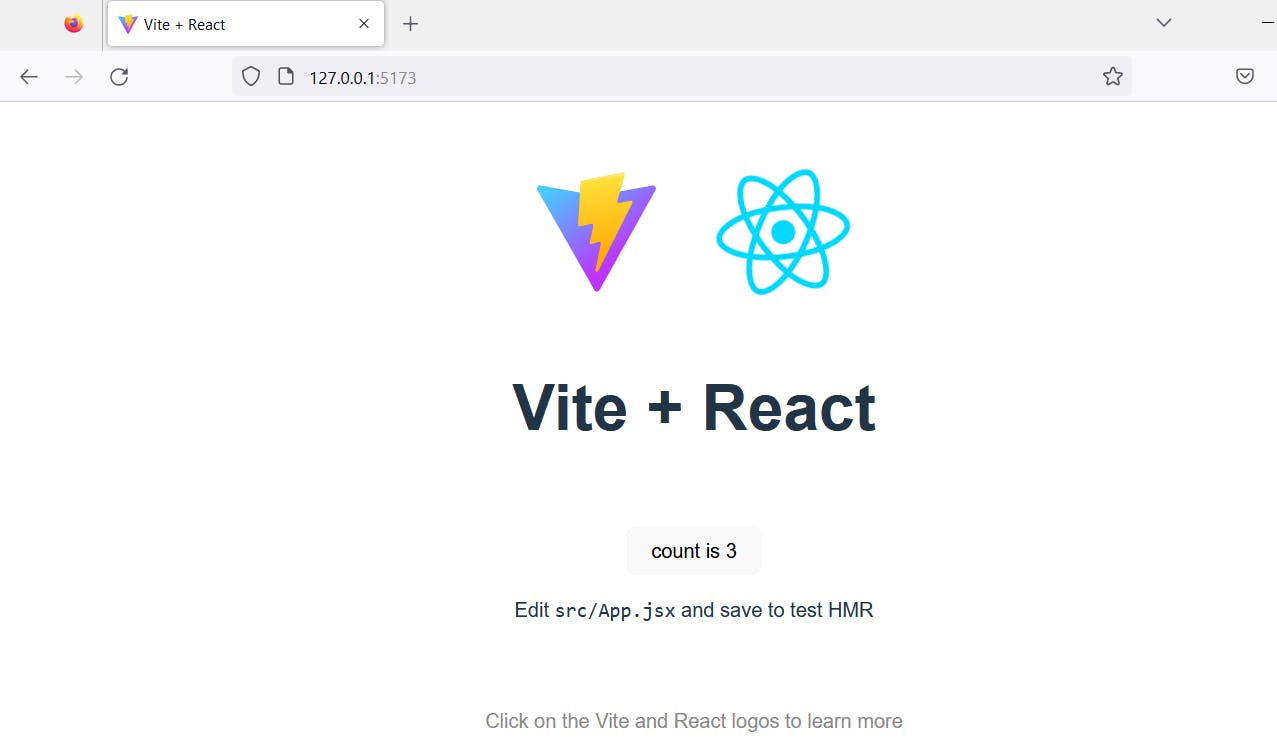
npm run dev
These commands should be familiar as we created a react app template called “netlify-project,” navigated into its directory, installed the necessary dependencies, and finally started the development environment.
Deploying our React App to Netlify using the Drag and Drop UI
The first and probably the simplest method to deploy an application to Netlify is by using the drag-and-drop UI feature that requires you to manually drop any folder containing your application's HTML, CSS, and JavaScript into the UI. Netlify will automatically deploy these files and generate a URL for you.
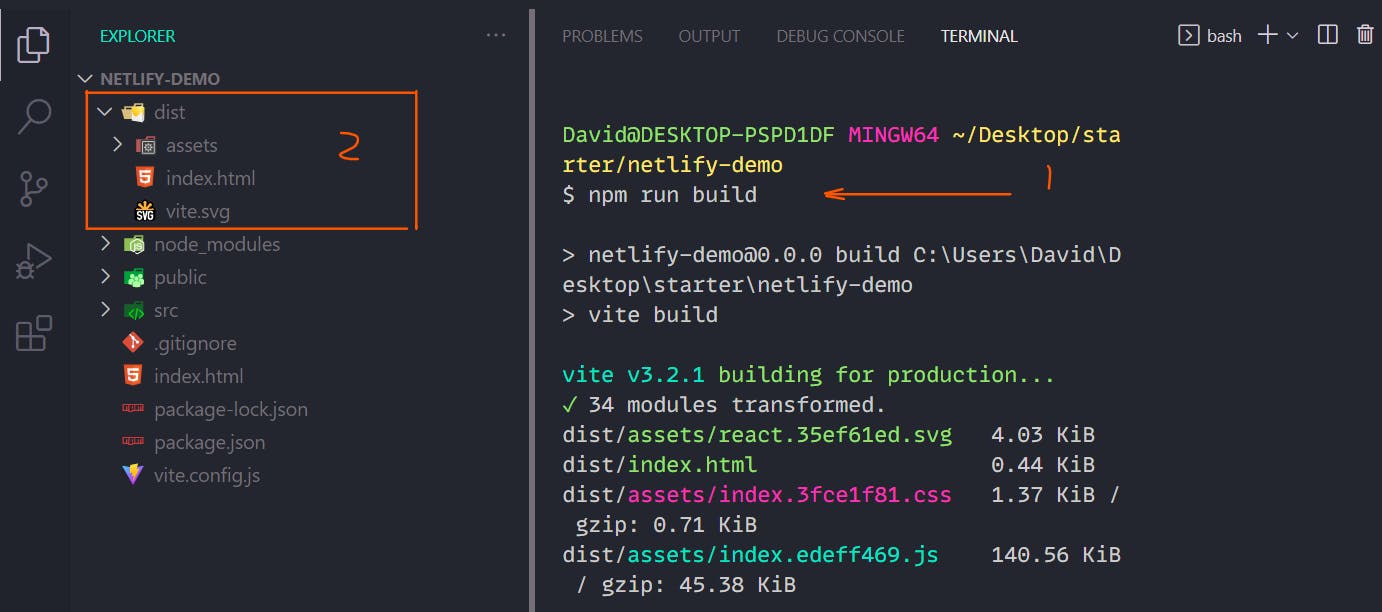
Since it's a React application we intend on deploying, we'll have to create a production-ready build of our application by running the build command below:
npm run build
This generates all of the production files and assets for our application inside a new folder in our root directory called dir or build, depending on your build tooling setup. In our case, it's the dir folder as shown below.
To proceed, you need to sign in to your Netlify account, or create a free account if you don’t already have one. Navigate to the dashboard >> Sites.

This will take you to the page for all your deployed sites, where you can click on the “Add new site” button and choose the manual deploy dropdown option.

Once you click on “Deploy manually”, you will be taken to the drag-and-drop UI to dump your build folder in.

Dragging the folder containing the React build files into this UI will instantly deploy it to Netlify and generate a live URL where your application resides on the internet, as shown below.
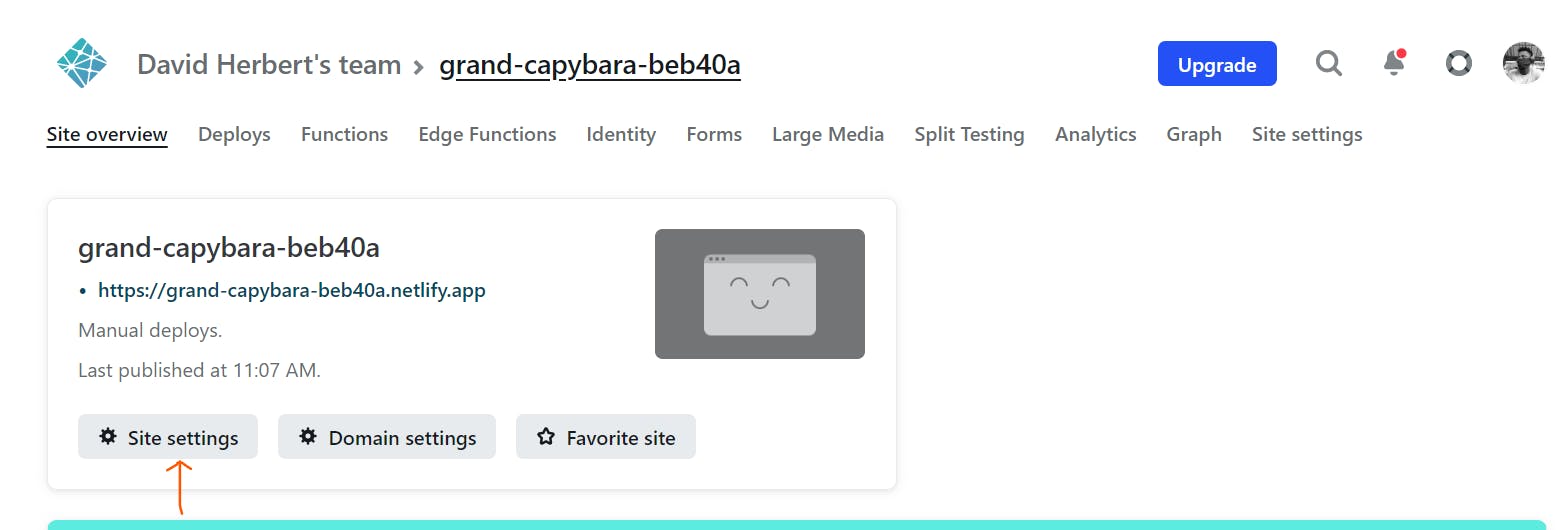
You can click on the link to visit the deployed site or click on the “Site settings” to customize your URL and site settings.
Deploying a React App to Netlify Using GitHub
The second method for deploying a React application to Netlify is using GitHub or any supported Git providers like GitLab, Bitbucket, and Azure DevOps. In our case, we’ll be deploying from GitHub.
First, ensure the React application has been pushed from the local machine to a remote GitHub repo, as shown below.
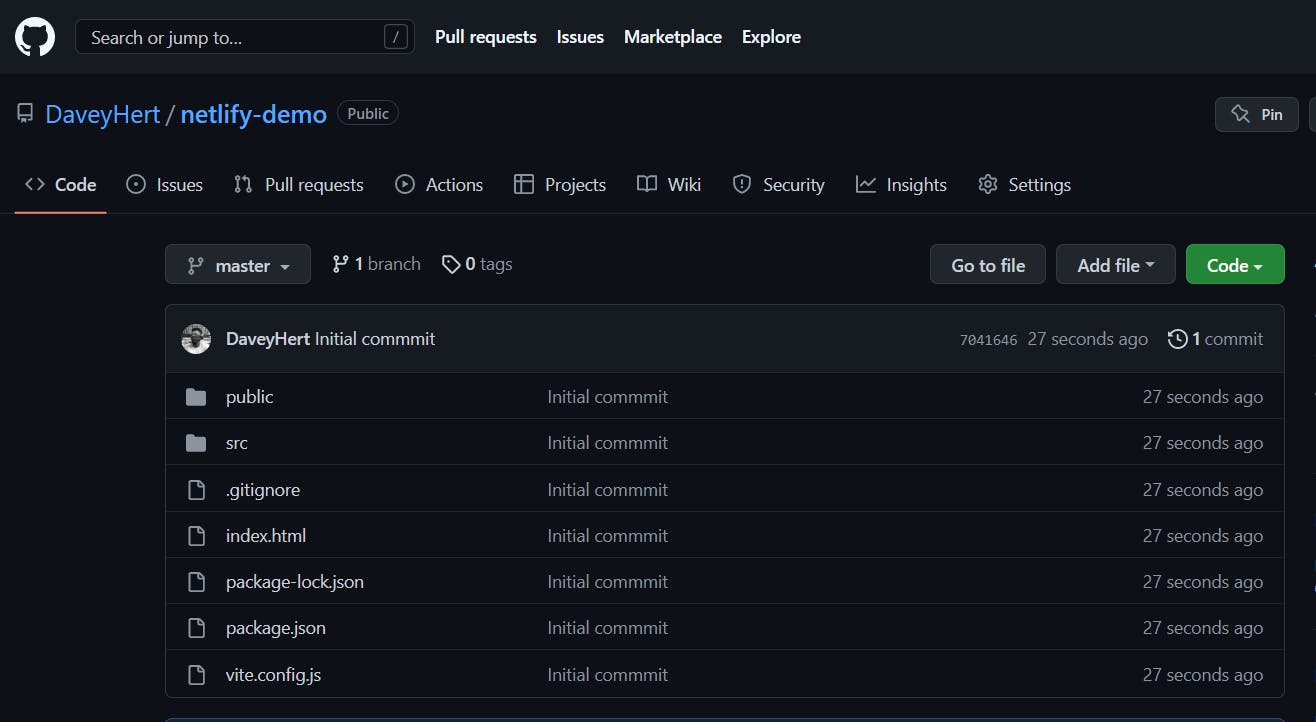
We won’t be covering how to push to a remote GitHub repo. Once the application is deployed to GitHub, we can head to our Netlify dashboard, go back to the “Sites” page, and click on the “Add new site.”

Then select the “Import from existing project” option, which takes us to a page where we can connect our Netlify account to our Git provider.
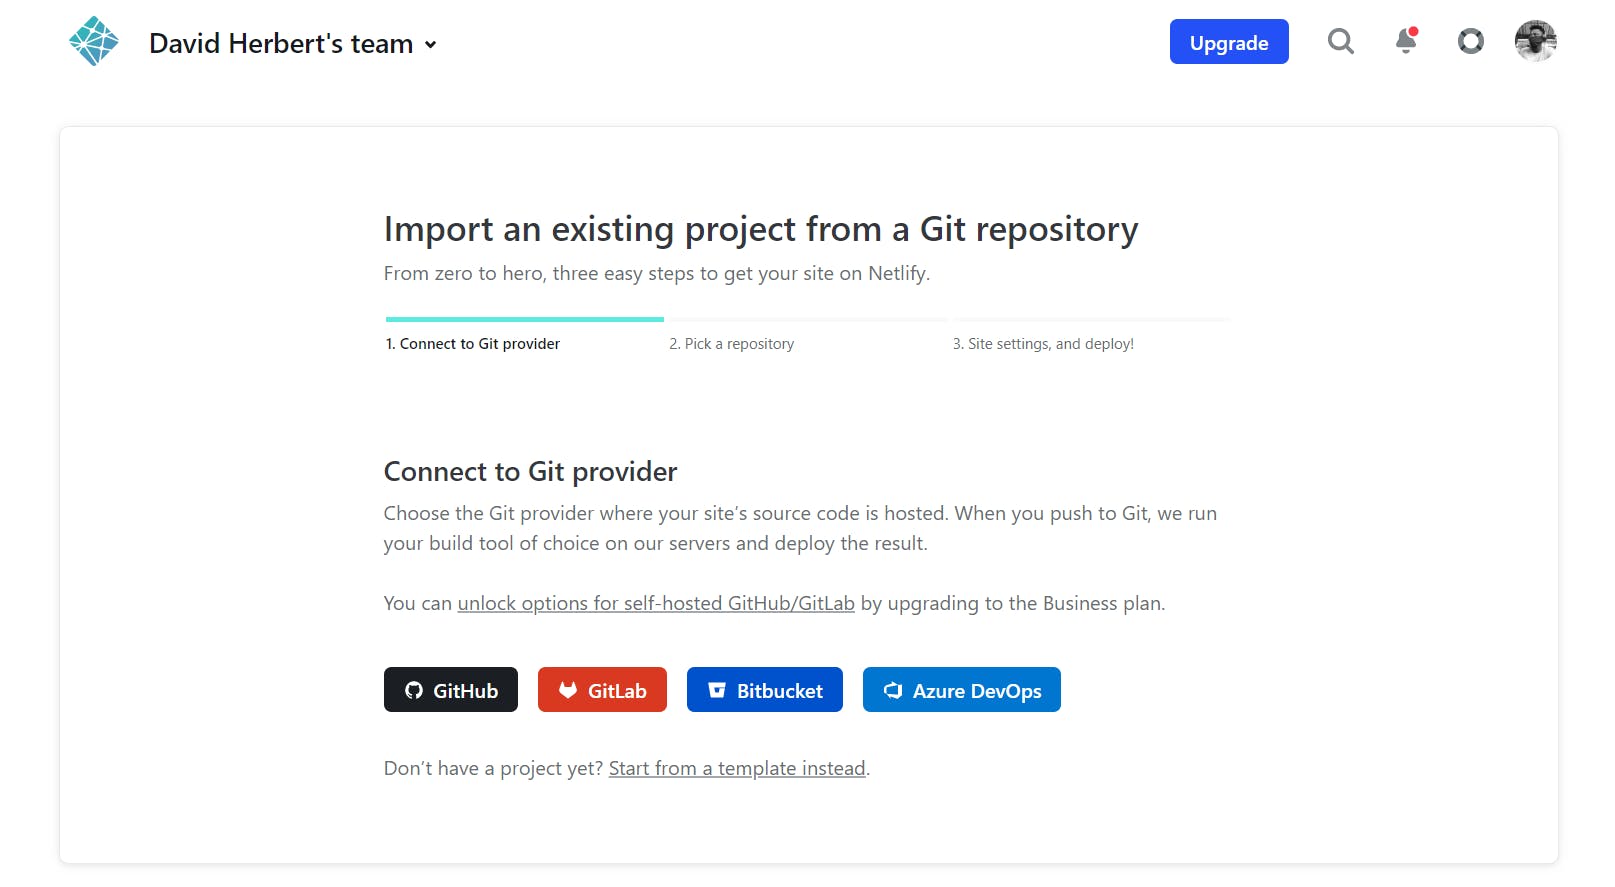
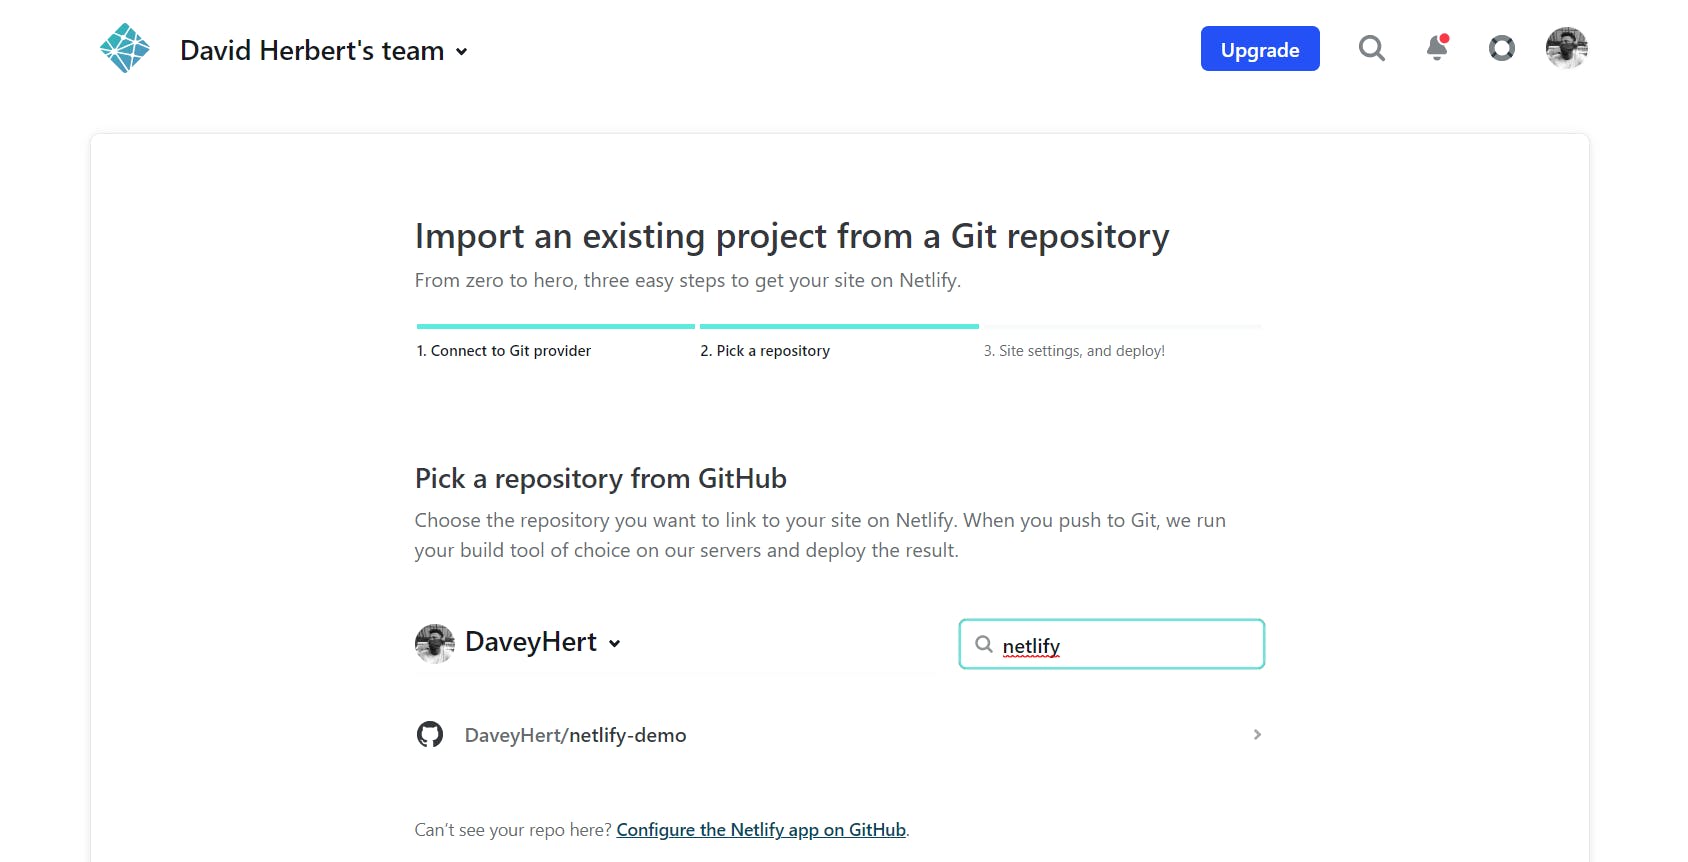
Once we accept permission for the Git provider of choice, we will be given access to our repos right in our Netlify dashboard to pick the application’s repo.
After selecting the repo, we need to configure how Netlify should handle the deployment of the site. Typically for static sites, we don't have to do anything extra here, but we'll have to configure the build settings for dynamic applications such as React apps. However, Netlify, by default, auto-detects the application's framework and auto-fills the fields as needed, as shown below.
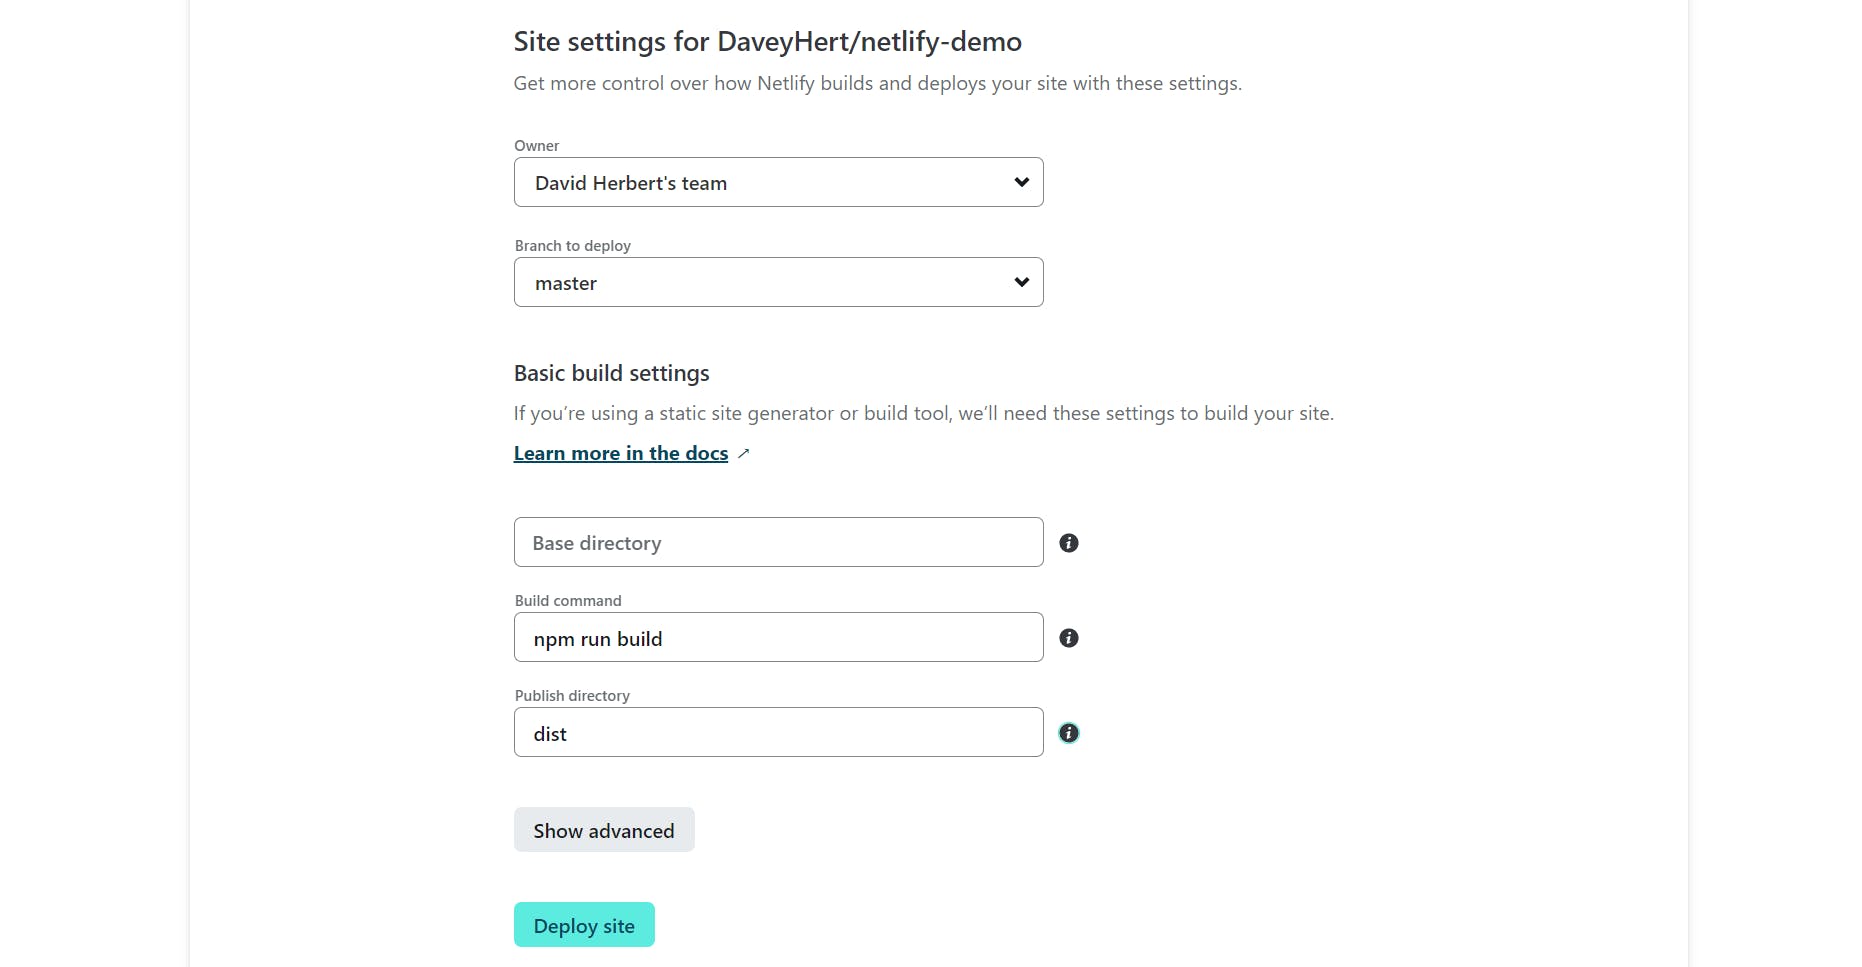
Finally, we click on the “Deploy” site button, and after a few seconds/minutes, our React application will be built and deployed from our GitHub to Netlify.

Deploying a React App to Netlify Using Netlify CLI
The third method to deploy a React application is using the command line. We’ll start by installing the Netlify CLI package in our React application, which allows us to interact with Netlify using our command line. So let’s do just that.
npm install netlify-cli -g
Once installed, we need to log into our Netlify account if it isn't already logged in using the command below.
netlify login
This should open up the browser prompting you to log into your Netlify account. However, since we already logged into our Netlify account, we'll skip to the actual deployment.
The next step is to create a production-ready build that would be deployed.
npm run build
Once the build is ready, we can now deploy it using the Netlify deploy command below.
netlify deploy
This prompts us to choose whether to link the app’s directory to an existing site or “Create & configure a new site”, select the team account to deploy to, and provide the custom site name. Finally, we are prompted to provide the build directory name where our app lives, i.e., dist in our case.
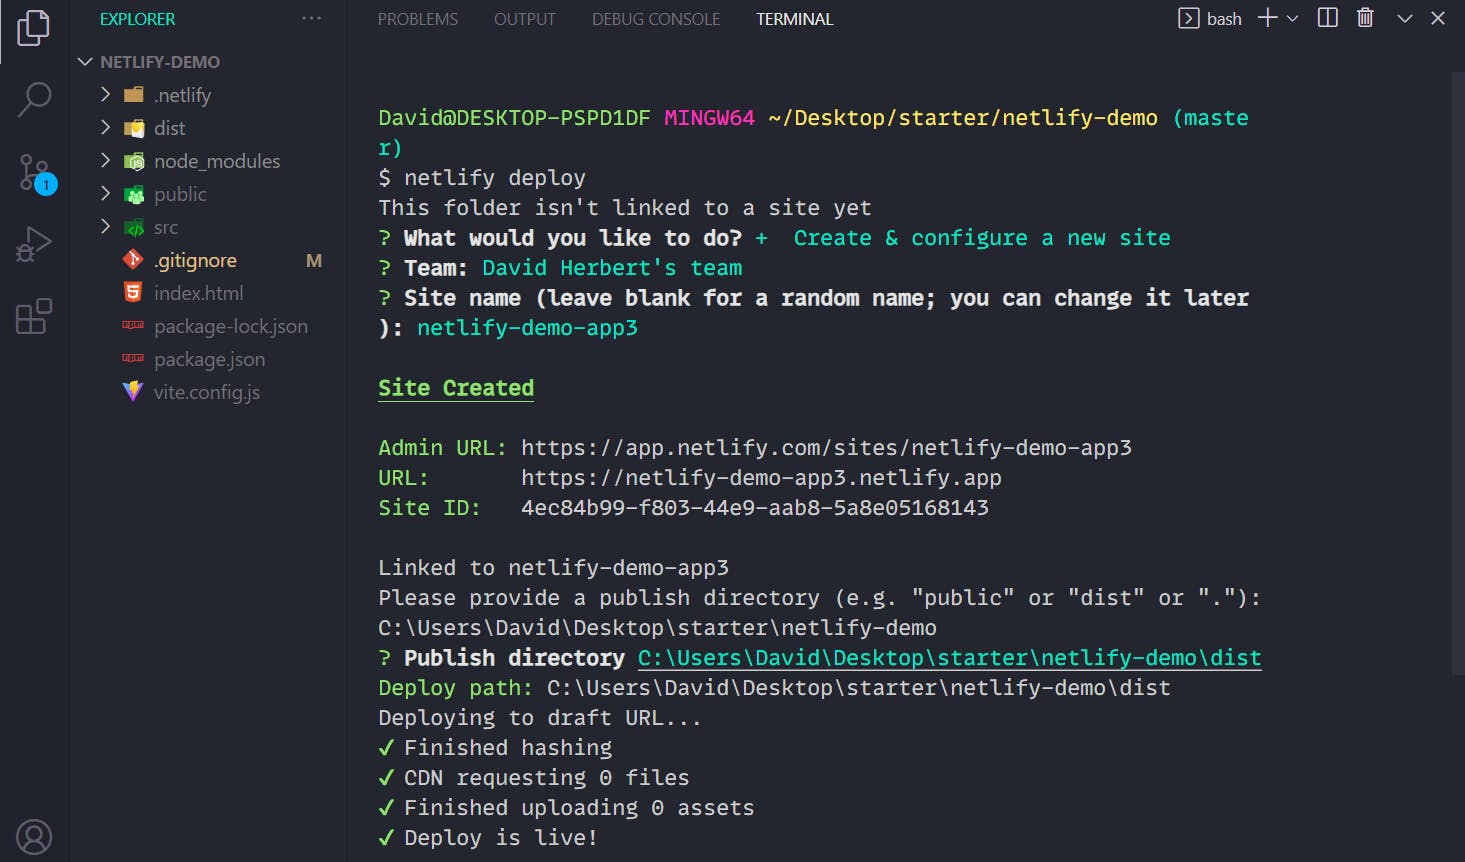
This creates a preview draft of our application that can finally be deployed to production using the command below.
netlify deploy --prod
Once again, we’re prompted to specify the deploy path in which our build is stored. This finally deploys our preview draft to production, which can be accessed on the Netlify dashboard or using the command below.
Netlify open
Conclusion
As we have seen, the various deployment methods offered by Netlify make it relatively easy to deploy React apps and other applications seamlessly. Thank you for reading this React deployment guide! I hope you enjoyed it! If you like this guide and found it helpful, do leave a comment below and follow Flycode for more.

